Tips and Tricks for Cutting Heat Transfer Vinyl with Precision
Heat Transfer Vinyl (HTV) is a popular material for creating custom designs on fabrics and apparel. Whether you’re a seasoned crafter or new to working with HTV, achieving precise cuts is essential for creating professional-looking and long-lasting designs. In this blog article, we will share valuable tips and tricks to help you cut heat transfer vinyl with precision and bring your creative visions to life.
Understanding Heat Transfer Vinyl
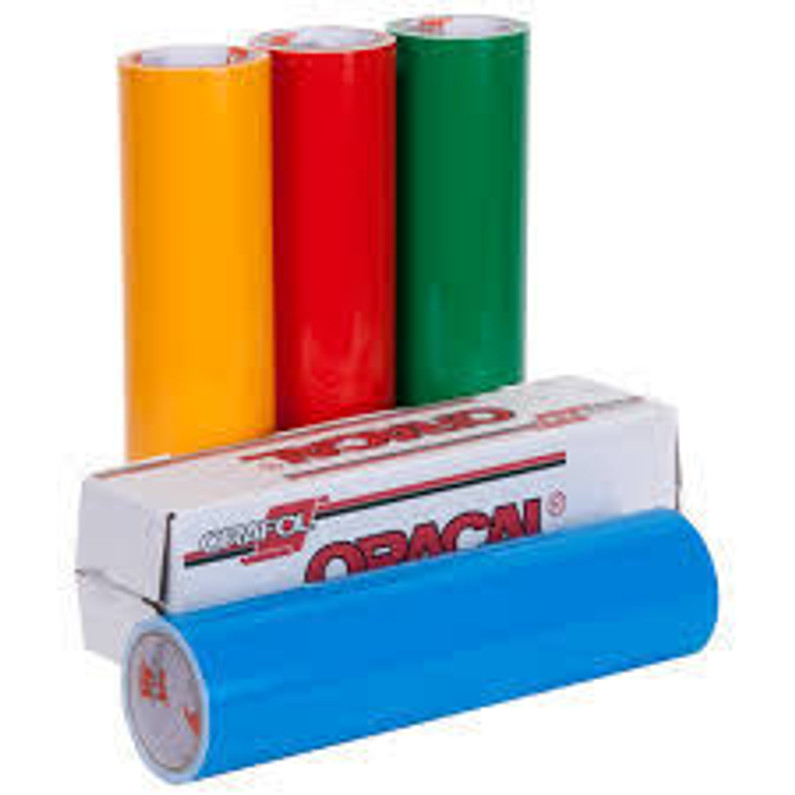
Before diving into the tips, let’s briefly understand what heat transfer vinyl is. HTV is a special type of vinyl that has a heat-activated adhesive on one side. When exposed to heat and pressure, the adhesive bonds the vinyl to the fabric, resulting in a permanent design. HTV comes in various colors, finishes, and textures, making it versatile for customizing t-shirts, bags, hats, and more.
Tips for Cutting Heat Transfer Vinyl
Use a Quality Cutting Machine
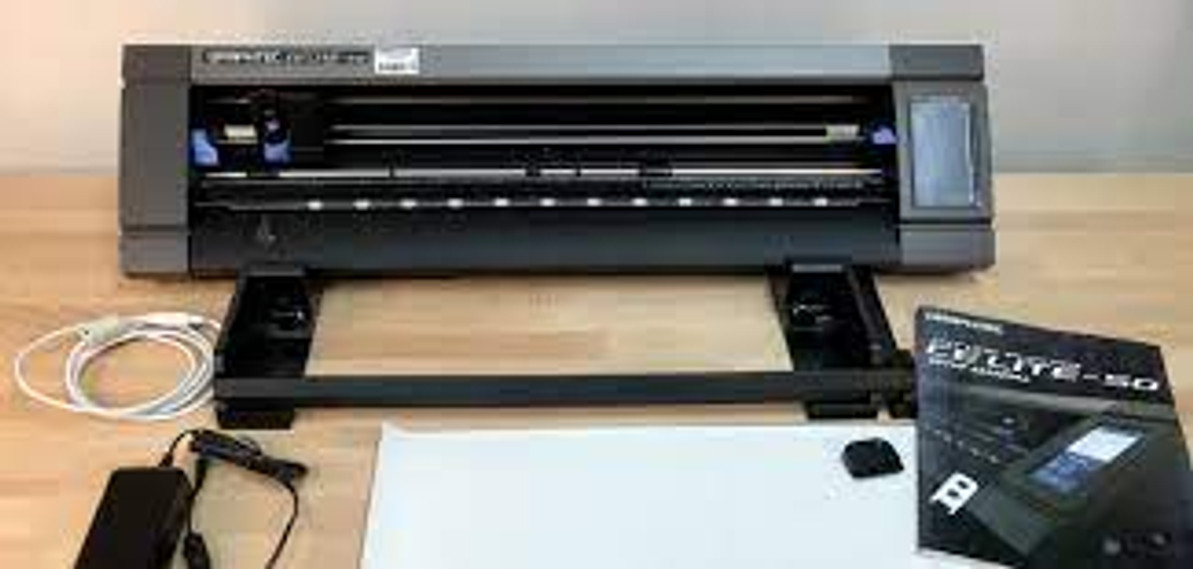
Investing in a high-quality cutting machine is the first step toward precision in HTV cutting. Look for a machine with reliable cutting accuracy, adjustable settings, and good compatibility with HTV. Popular choices include Cricut, Silhouette Cameo, and Brother ScanNCut machines, which offer precise cutting capabilities for various vinyl materials.
Select the Right Blade and Cutting Settings
The blade and cutting settings on your machine play a vital role in achieving clean cuts. For HTV, use a standard or fine-point blade designed specifically for cutting vinyl. Adjust the blade depth and pressure settings according to the thickness and type of HTV you are working with. Test cuts are beneficial to find the ideal settings before proceeding with your design.
Ensure Proper Alignment
Proper alignment is crucial for precise HTV cutting. Ensure that your vinyl is loaded correctly and straight on the cutting mat. If your machine supports it, use alignment guides or sensor technology to align the cutting position accurately. This step prevents wastage of material and ensures your design fits perfectly on the fabric.
Weed with Precision
Weeding is the process of removing the excess vinyl from your design before heat application. Use a weeding tool or tweezers to carefully remove the unwanted vinyl, leaving only the desired design on the carrier sheet. Take your time and work patiently, especially for intricate designs, to avoid accidentally removing parts of your design.
Perform Test Cuts
Before cutting your final design, always perform test cuts on a small piece of HTV. This step helps you verify that the blade settings and cutting depth are appropriate for the specific HTV you are using. Additionally, it allows you to check the intricacy of your design and make any necessary adjustments before committing to the full cut.
Reverse Your Design for Iron-On HTV
If you’re working with iron-on HTV, remember to mirror or flip your design horizontally before cutting. This step ensures that when you iron the design onto the fabric, it appears correctly, without any backward letters or images.
Handle with Care
When handling HTV, be gentle and avoid touching the adhesive side unnecessarily. Fingerprints and oils can affect the adhesive’s effectiveness during heat application. Use clean hands and work on a clean surface to keep your HTV in pristine condition.
Use a Heat Press or Iron Correctly
When applying the HTV to your fabric, follow the recommended time, temperature, and pressure guidelines for the specific vinyl you are using. Using a heat press provides consistent heat and pressure distribution, resulting in more reliable and durable HTV applications. If using an iron, ensure even pressure and heat coverage by using a pressing cloth or Teflon sheet.
Troubleshooting Tips
Wrinkled or Bubbling HTV
If your HTV appears wrinkled or has bubbles after application, it may be due to uneven pressure or temperature during heat application. Ensure that your heat press or iron is evenly distributing heat and pressure across the entire design.
Peeling HTV
If your HTV starts peeling after washing, it could be due to insufficient heat application or not pressing it for the recommended duration. Always follow the manufacturer’s guidelines for heat application to ensure a lasting bond.
Cutting heat transfer vinyl with precision is essential for achieving professional-looking and durable designs on fabrics and apparel. By using a quality cutting machine, selecting the right blade and cutting settings, and paying attention to alignment and weeding, you can elevate your HTV projects to the next level. Remember to perform test cuts and handle HTV with care to ensure optimal results during application. With these tips and troubleshooting insights, you’re well-equipped to embark on your heat transfer vinyl projects with confidence and achieve precision in every cut.
Recent Posts
-
Creative Ways to Use Adhesive Vinyl in Home Decor Projects
Adhesive vinyl is a versatile and popular material that opens up a world of possibilities for home d …Jul 27th 2023 -
Tips and Tricks for Cutting Heat Transfer Vinyl with Precision
Heat Transfer Vinyl (HTV) is a popular material for creating custom designs on fabrics and appar …Jul 27th 2023 -
Choosing the Right PSV Transfer Tape for Your Project
When it comes to working with Pressure-Sensitive Vinyl (PSV) decals and graphics, selecting the ri …Jul 27th 2023


