Tutorial: How to Make a 4th of July T-Shirt using Heat Transfer Vinyl

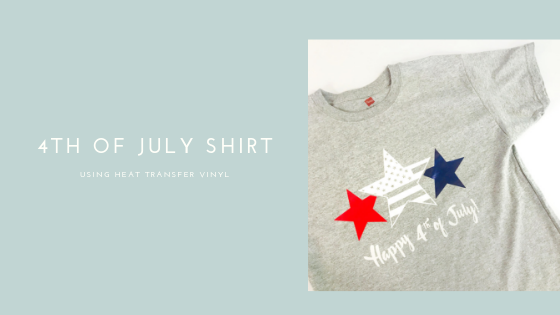
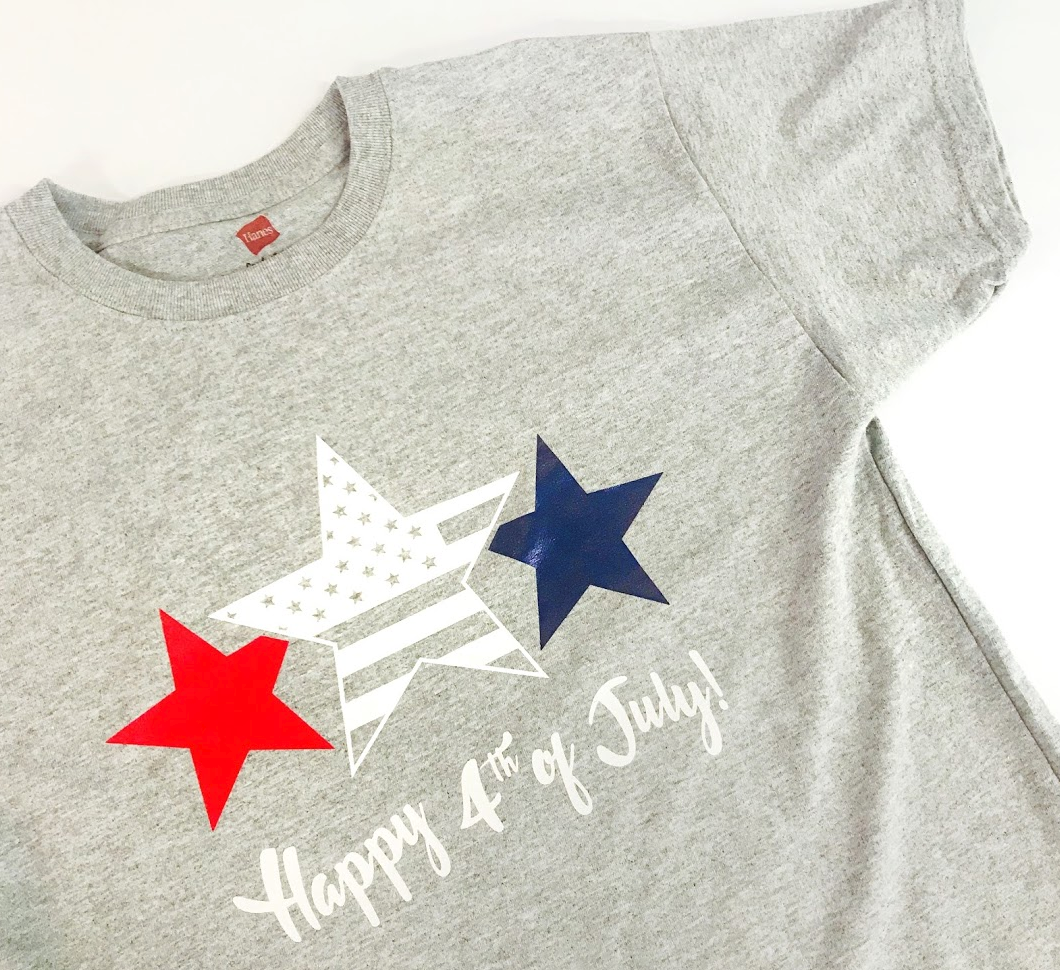
I can't believe 4th of July is right around the corner! I absolutely love making a shirt for each holiday, so I wanted to share the 4th of July shirt I created using Heat Transfer Vinyl.
Supplies:
Graphtec CE6000-60 24" Vinyl Cutter
Geo Knight DK20s Swinger Heat Press - 16" x 20"
Thermoflex - Rainbow Opaque White
Easyweed Electric Frosted Blueberry
T-shirt
SVG Star Design
Since we will be working with a cotton t-shirt for this project, I suggest you wash and dry it first, so that the fabric has a chance to shrink before we apply our Heat Transfer Vinyl (HTV) design.
Once you have gathered all your materials, we can start cutting the design (make sure to flip the design). We used a Graphtec Vinyl Cutter, which was great because we didn't have to use a mat and it cut our designs so much faster, and without the loud sounds. Since we are using three different colors of heat transfer vinyl, we will have to cut each part of the design on its specific color.
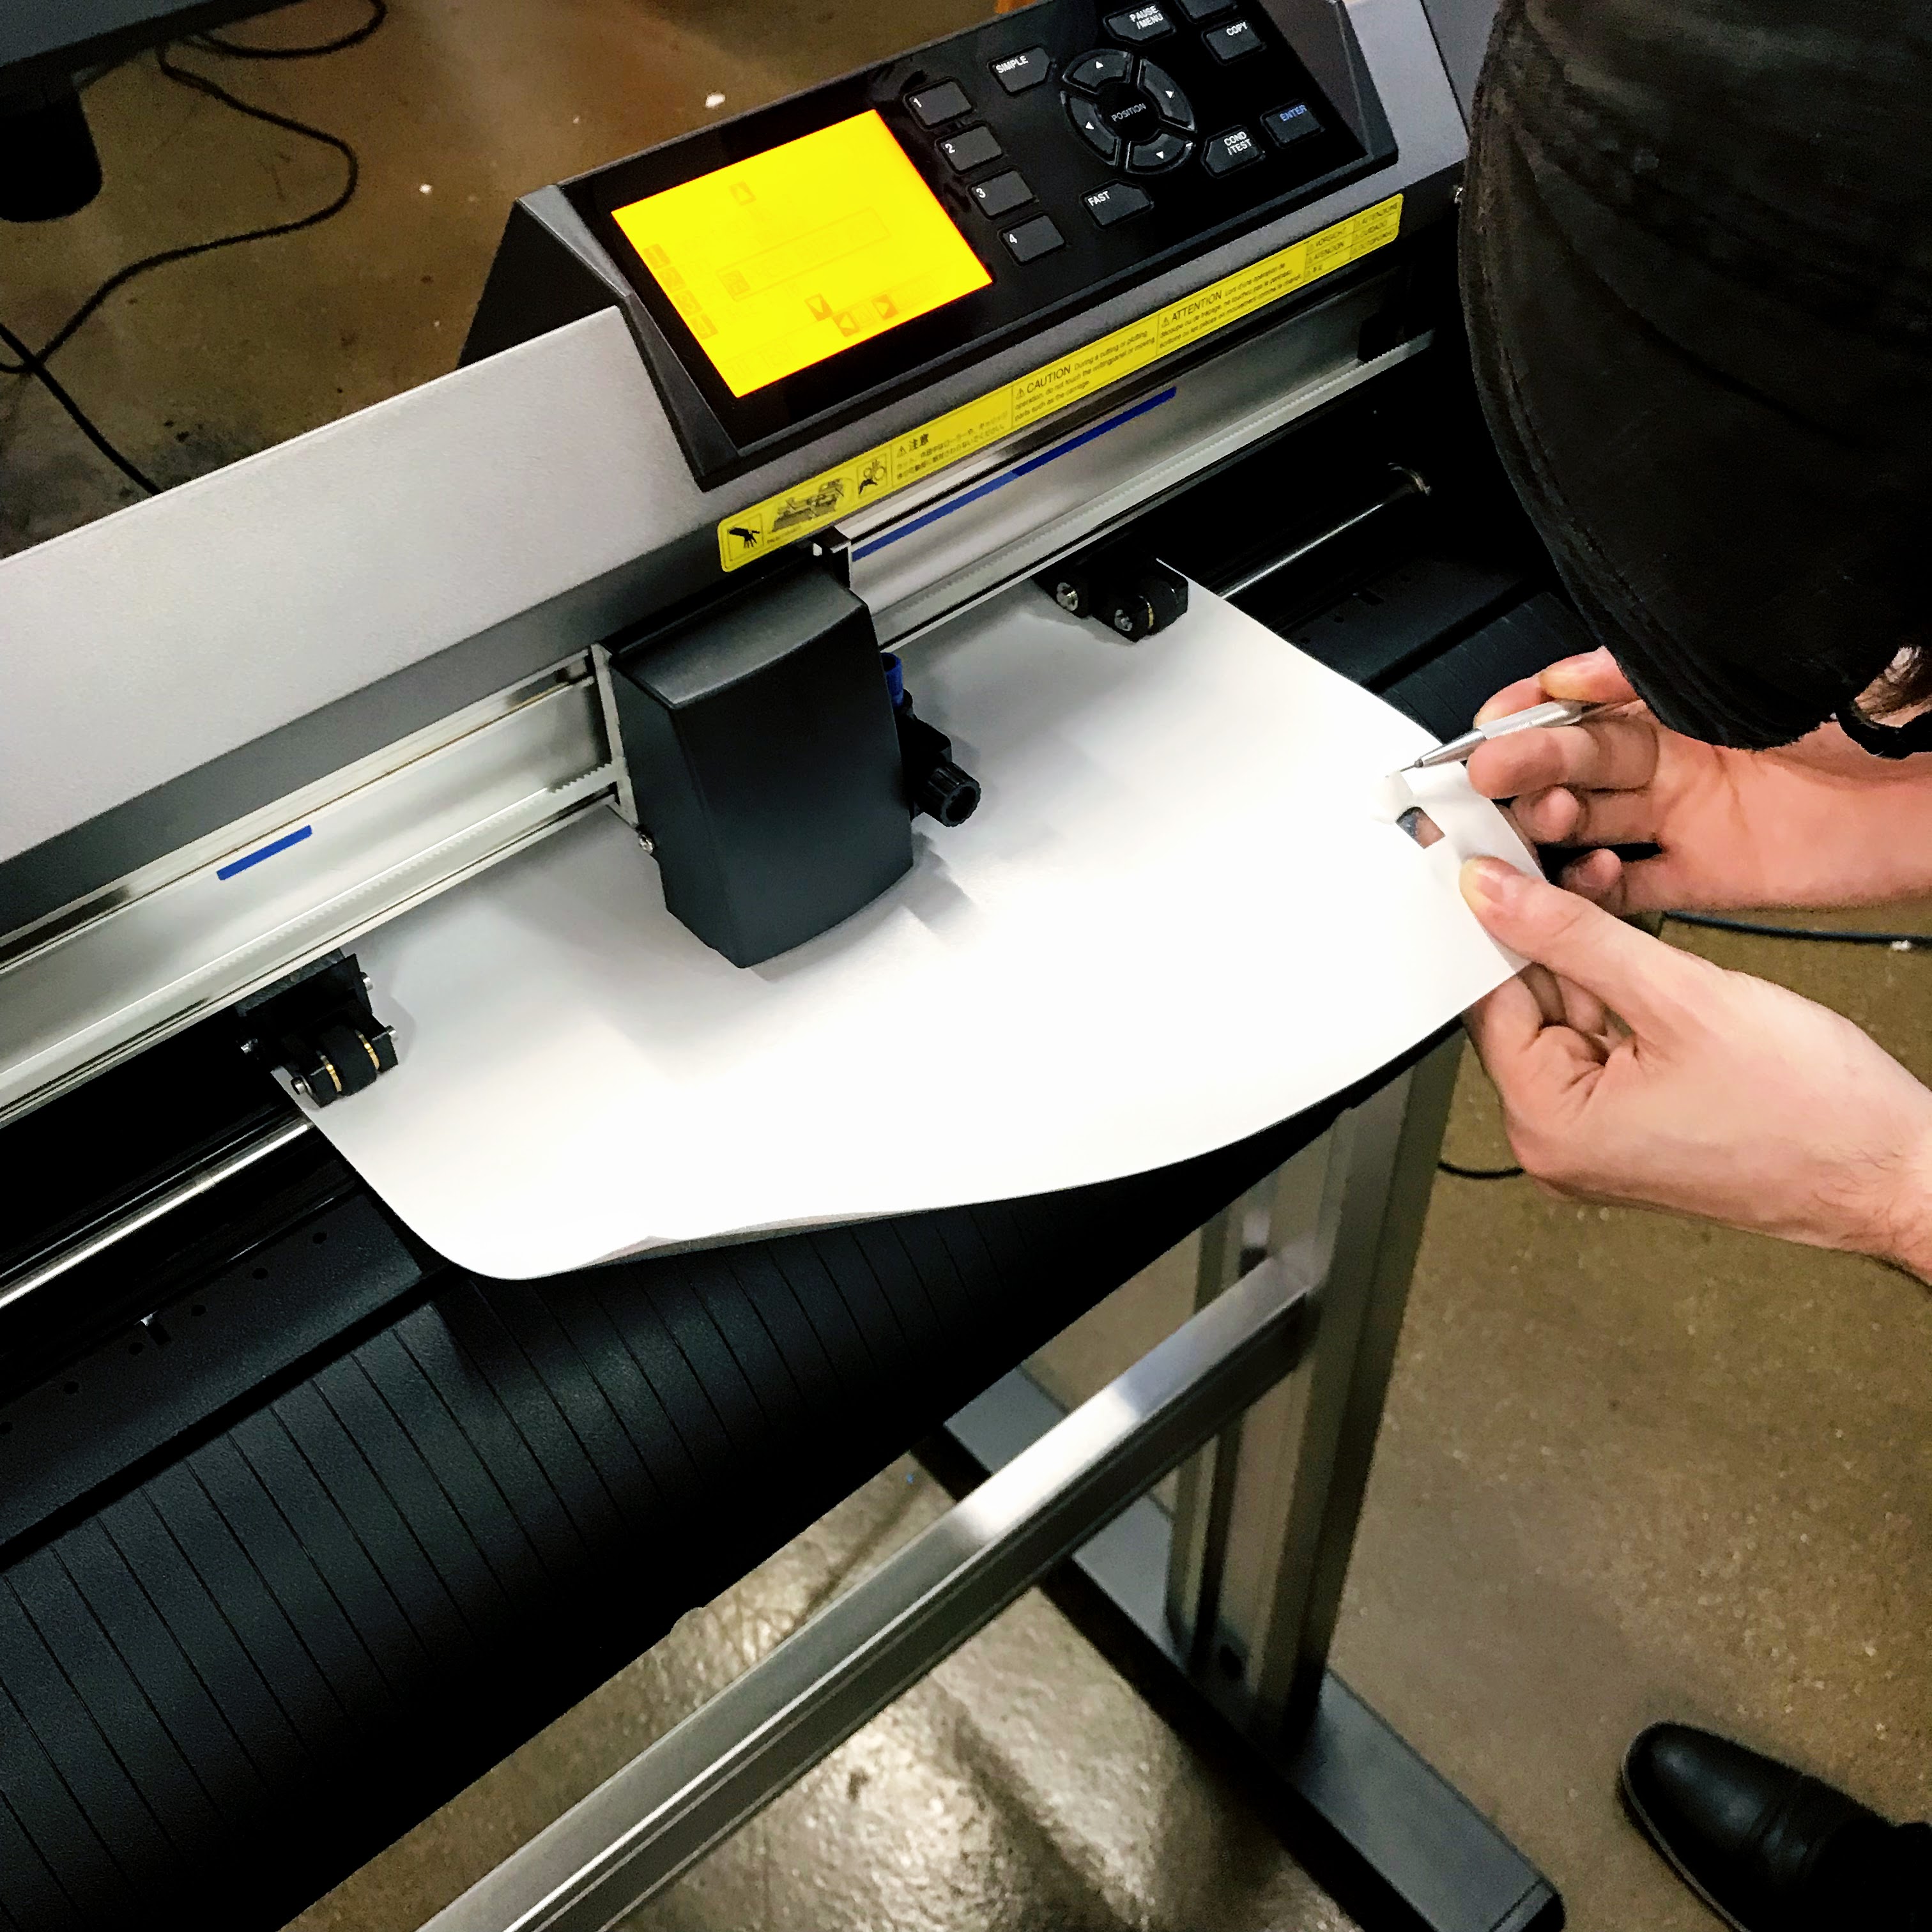
Now that our Heat Transfer Vinyl is cut, we will have to remove the extra vinyl from our graphics and wording. I recommend using a weeding tool to remove the extra vinyl around the graphic and wording.

Lay out all of your graphics on the shirt, so you know where you would like them placed. Then use our Siser Heat Cheat Sheet to determine the temperature, pressure and the amount of time for each vinyl type.
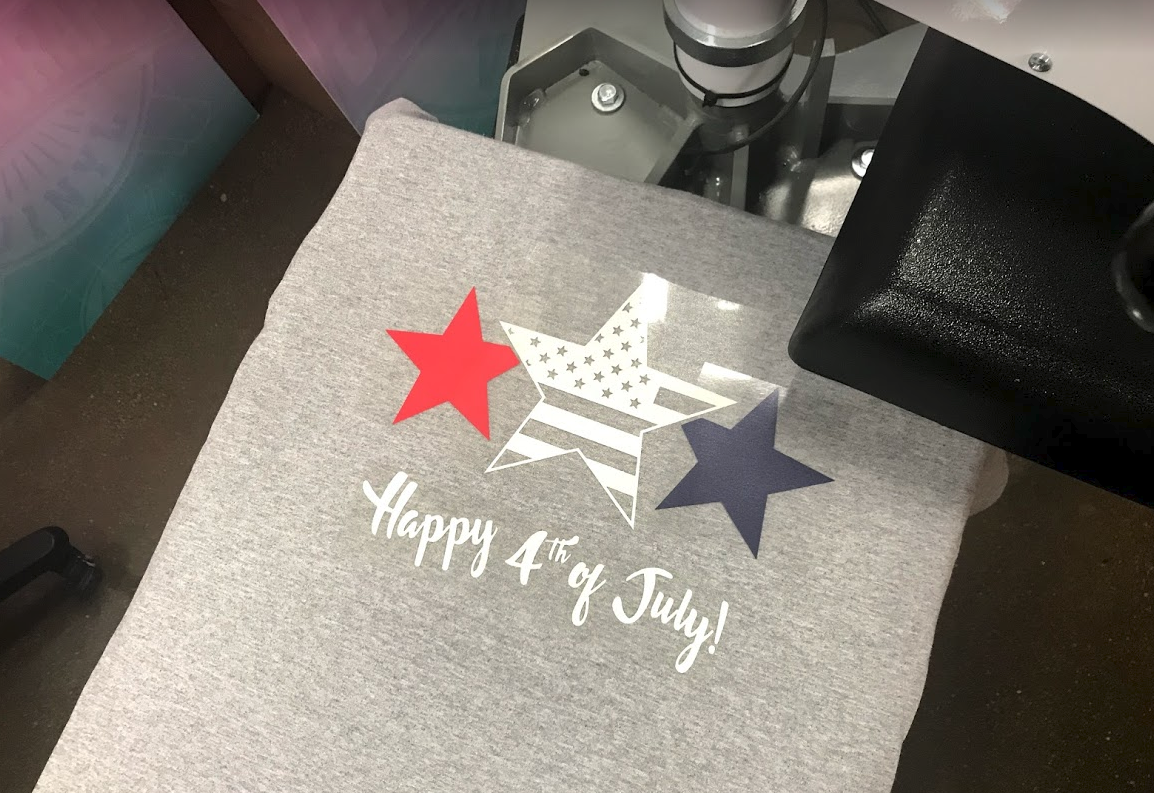
We used a heat press by Geo Knight and we were able to set the pressure, temperature and time. Once you hit the time limit, lift up the press and remove the clear film. Keep going through these steps until you are complete with your design. We pressed our full design one last time for about 5 seconds.